The Outdoor Plus · Installation
The Outdoor Plus Fire Pit Installation: General Reference
Every TOP fire pit ships pre-plumbed for the gas type you ordered, but the install still has to hit the same four gates: the right regulator and supply pressure, the published clearances, a leak test, and decorative media no deeper than one inch above the burner. This is the brand-wide reference — individual topics drill into round bowls, fire tables, and each ignition style.
By Ash · Updated November 8, 2026
What you need
- Spirit level
- Adjustable wrench
- QCC-1 propane connector (for LP) or flared gas fitting (for NG)
- Soap-and-water leak test solution in a spray bottle
- Licensed gas contractor on call for permanent NG runs
Supply pressure specs (from the TOP manual)
- Natural Gas — minimum
- 3.5" W.C. (1/8 psi)
- Natural Gas — nominal
- 7.0" W.C. (1/4 psi)
- Natural Gas — maximum
- 14.0" W.C. (1/2 psi)
- Liquid Propane — minimum
- 8.0" W.C. (1/3 psi)
- Liquid Propane — nominal
- 11.0" W.C. (1/2 psi)
- Liquid Propane — maximum
- 14.0" W.C. (1/2 psi)
- Clearance — sides and back
- 48 inches (122 cm)
- Clearance — top (overhead)
- 96 inches (244 cm)
- Decorative media depth over burner
- Max 1 inch
Common TOP conversion part numbers (from the manual)
- Air mix fixture (needed for LP)
OPT-232A - LP regulator + hose assembly
OPT-1300 - Natural gas orifice
OPT-NG012 - NG flex hose, 1/2" × 36"
OPT-241
Step by step
Confirm the pit was ordered for your gas type
Check the rating plate on the underside of the pan. TOP ships configured for the gas you ordered — if it says NG and you're on LP, or vice versa, you'll need the OPT conversion parts above before you proceed. Conversion is covered in the LP↔NG guide; do not force a mismatch at install.
Set the pit in a stable, outdoor-only location
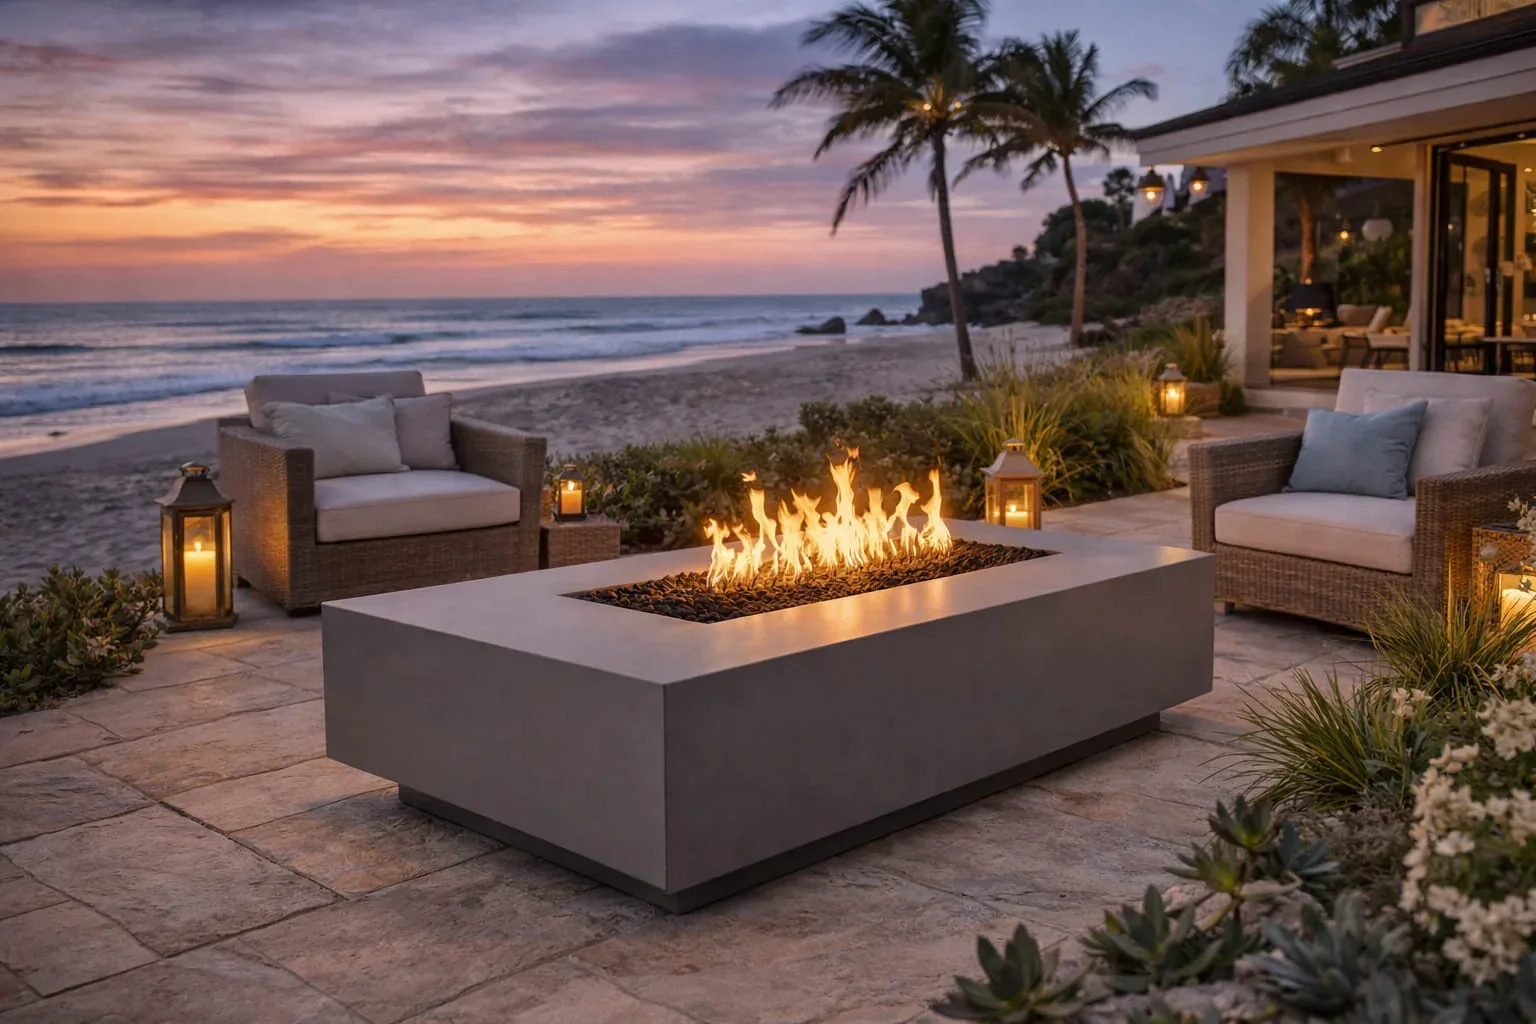
Place on a flat concrete, paver, or masonry surface with clear ventilation under the pan. Hold the 48" side-and-back clearance to combustibles and the 96" top clearance to any overhead. Never set directly on grass, dirt, or sealed decking that traps heat. Position so the access panel (if present) faces the gas source for easier service later.
Connect the gas line
For LP: route the black QCC-1 hose through the vent opening, connect to a 20-lb cylinder (collared, DOT-marked), hand-tighten the regulator nut clockwise — no wrench. For NG: connect the factory flex line from the igniter to your supply shutoff with a flared or NPT fitting. Confirm the air-mix fixture under the burner plate is in the correct position for your gas (closed over the six holes for LP; open for NG).
Perform a soap-and-water leak test before firing
Mix one part dish soap to one part water in a spray bottle. Turn the gas on at the source, keep all control knobs OFF, and spray every joint — regulator, hose unions, riser, shutoff, and the connection into the pit. Bubbles = leak. Tighten the joint, swap the part, or call a gas pro. Never use a flame to find a leak.
Place decorative media — no deeper than 1 inch above the burner
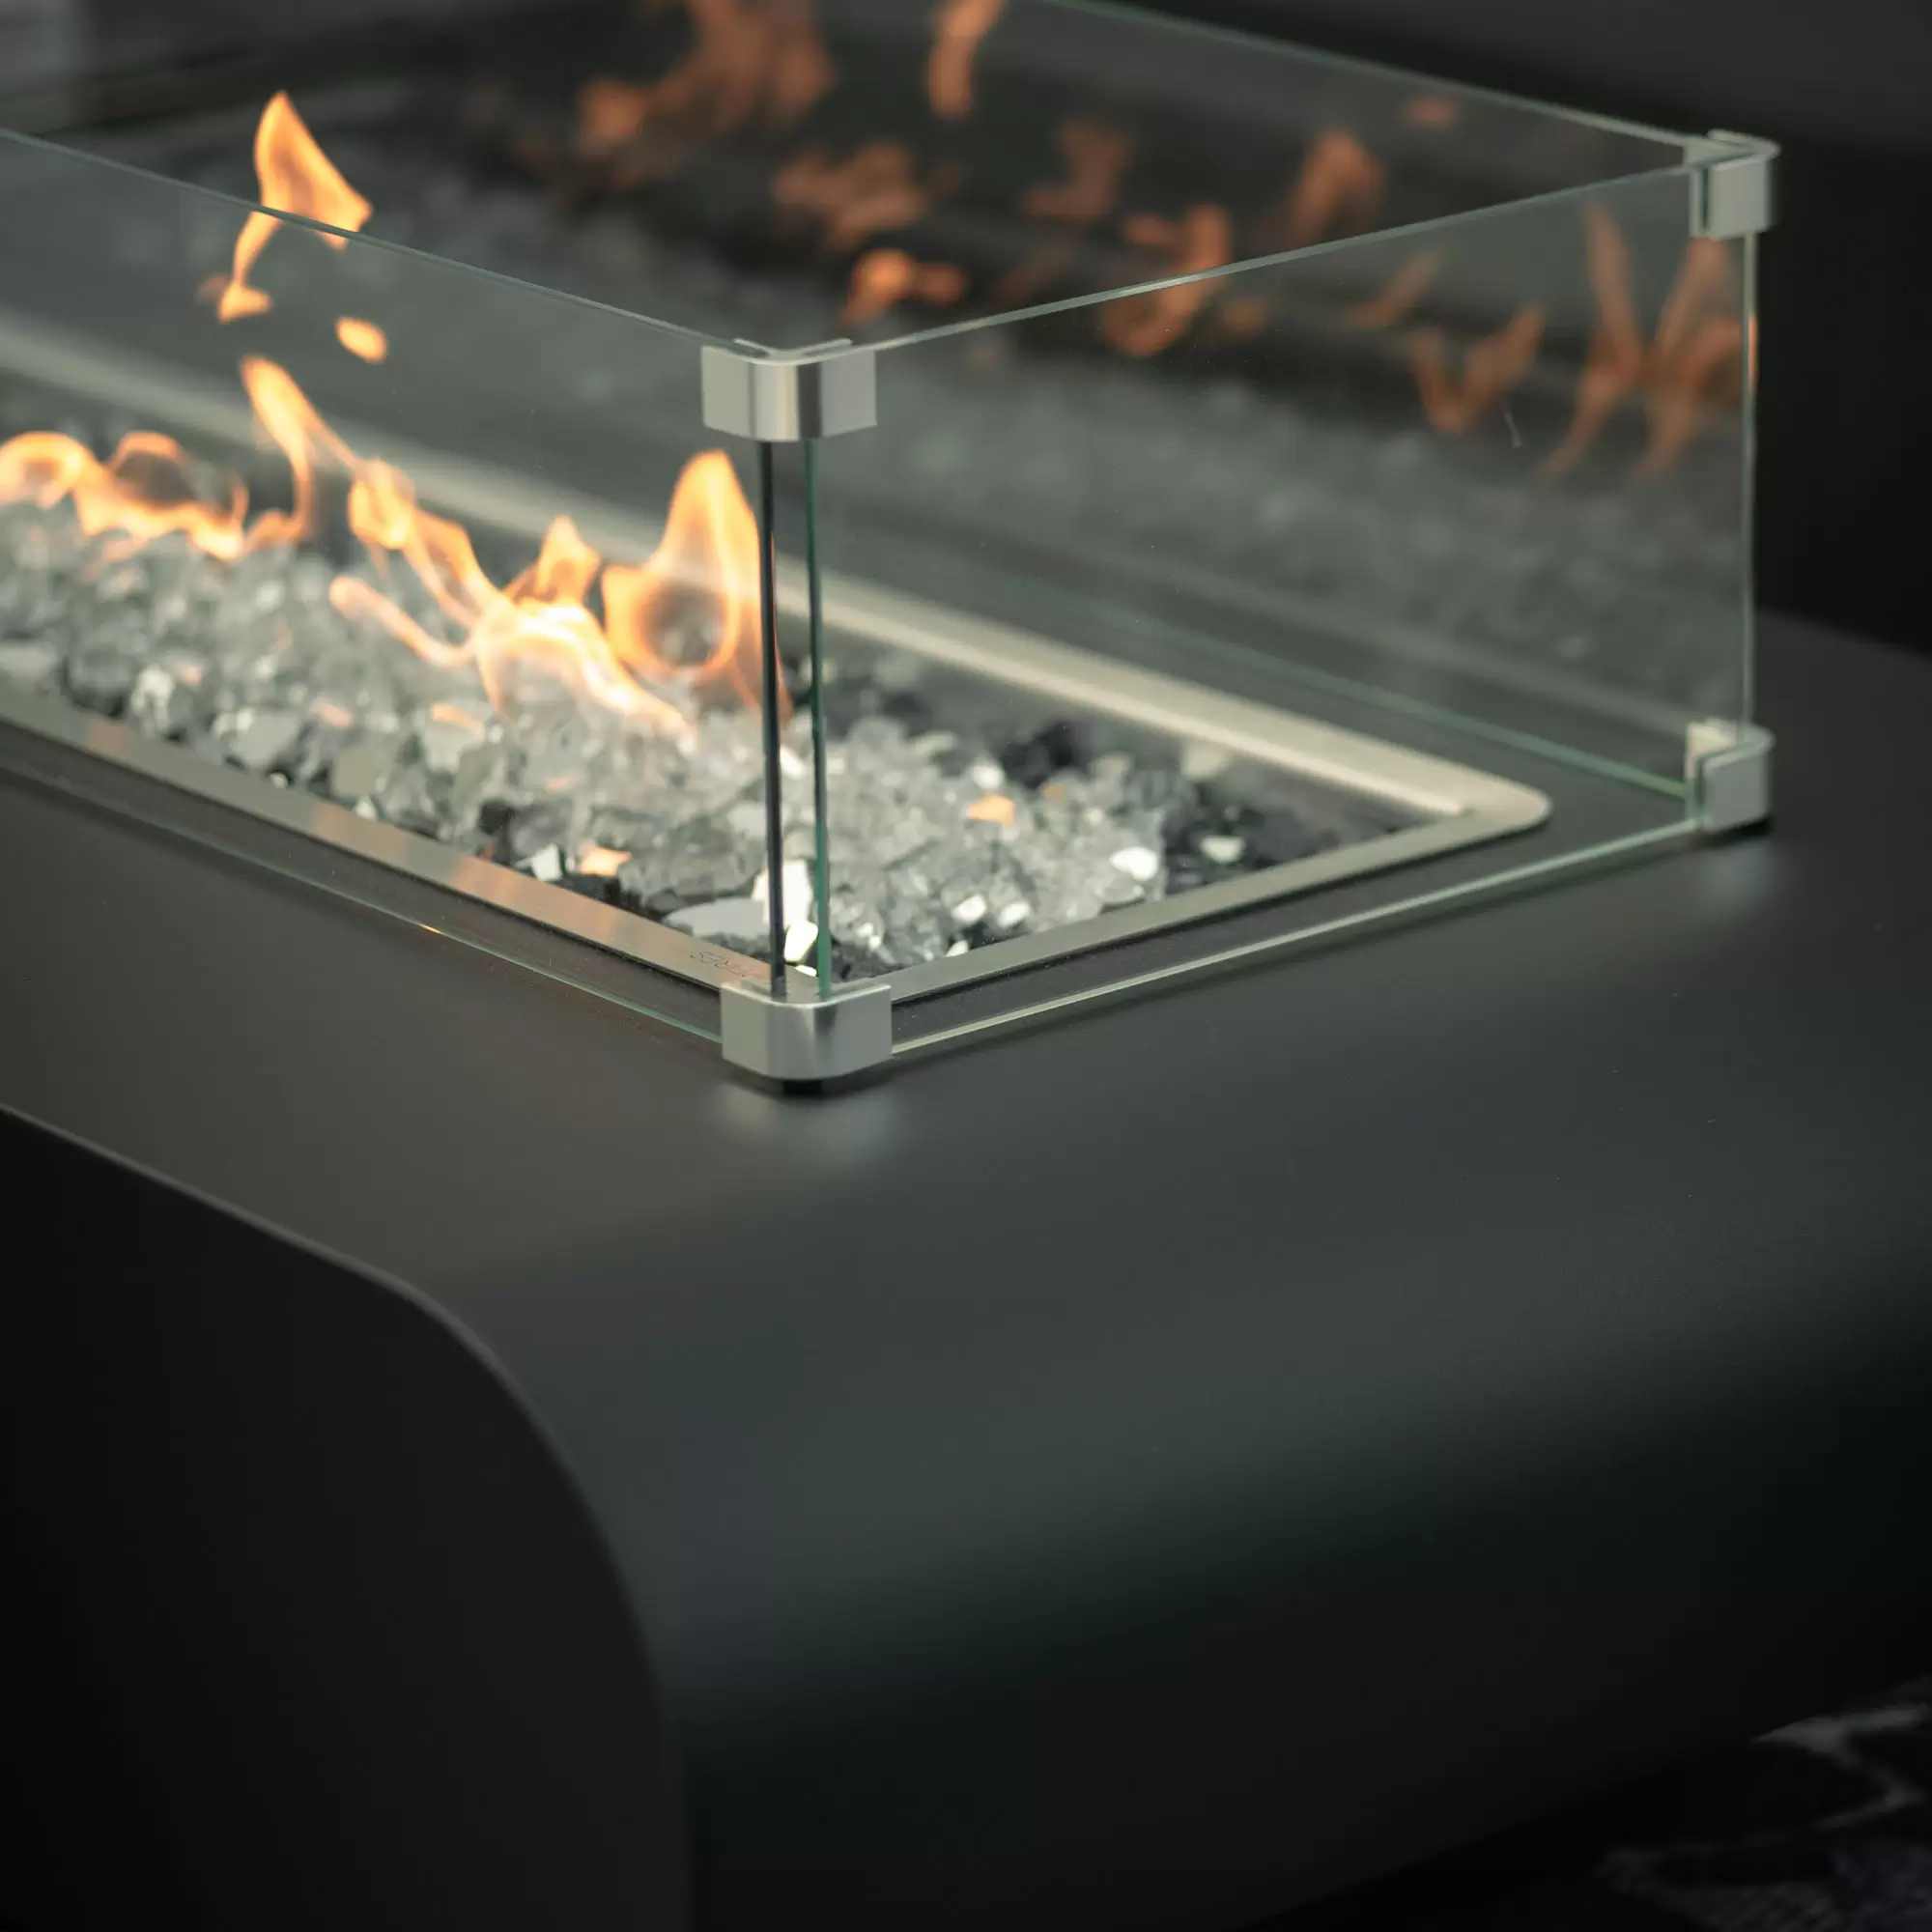
Load lava rock, fire glass, or TOP ornaments onto the burner pan. Hard cap: media no higher than 1 inch over the burner surface. Deeper media impedes gas flow, can pool unburned gas, and risks an explosion on light. The pan shape is the budget — fill to the burner-plus-one, then spread the rest outward.
Purge the line on first light
First ignition takes a few seconds while air clears the hose. For match lit: long-stem match or butane lighter held near the burner, open the control knob. For electronic ignition: press the push-button, listen for the spark. If it doesn't catch within a few seconds, shut OFF, wait 5 minutes for gas to clear, retry. Subsequent lights won't need a purge.
Common mistakes
- Running it under a pergola roof without airflow. 48" top clearance is to combustibles — but even on a non-combustible structure, trapped CO is a hazard. Add side-wall openings or a dedicated vent, or reposition.
- Using the wrong propane cylinder. TOP calls for approximately 12" diameter × 18" tall, 20-lb capacity, collared, DOT-marked. Dust cap on the valve when not connected. Cheap uncollared tanks fail the cylinder spec.
- Skipping the air-mix check on LP. The air-mix fixture under the burner plate has to be CLOSED over its six holes for LP. Install it NG-style on LP and the flame pattern will be yellow, sooty, and starved.
Hands-on tips
- Keep a copy of the general manual and the specific ignition manual on your phone — TOP's manual numbers are on the burner plate's data tag.
- Photograph the as-built gas connection before you backfill the trench. If you ever have to service later, the picture is a 30-second diagnostic.
- Buy a spare QCC-1 regulator + hose (OPT-1300) and keep it in the service kit. They weather first and it's a wedding/dinner-party save.
Questions people ask
Can I install a TOP fire pit myself on natural gas?
You can set the pit and place media yourself. The NG hookup specifically — TOP recommends a licensed gas contractor. Local codes almost always require permit + inspection for a permanent gas line, and a leak downstream of the meter is your insurance claim.
What codes does the install have to meet?
ANSI Z223.1 / NFPA 54 (US) or CSA B149.1 (Canada) for gas; ANSI/NFPA 70 (US) or CSA C22.1 (Canada) for any electrical grounding on electronic-ignition models. Local overrides apply.
Can I use a 40-lb propane tank instead of 20?
The manual specifies the 20-lb cylinder (approximately 12" × 18", collared). A larger tank needs a dedicated plumbed-in regulator — not a drop-in swap. Call TOP support at (909) 460-5579 before improvising.
Was this guide helpful?
Shopping for The Outdoor Plus?
See The Outdoor Plus products