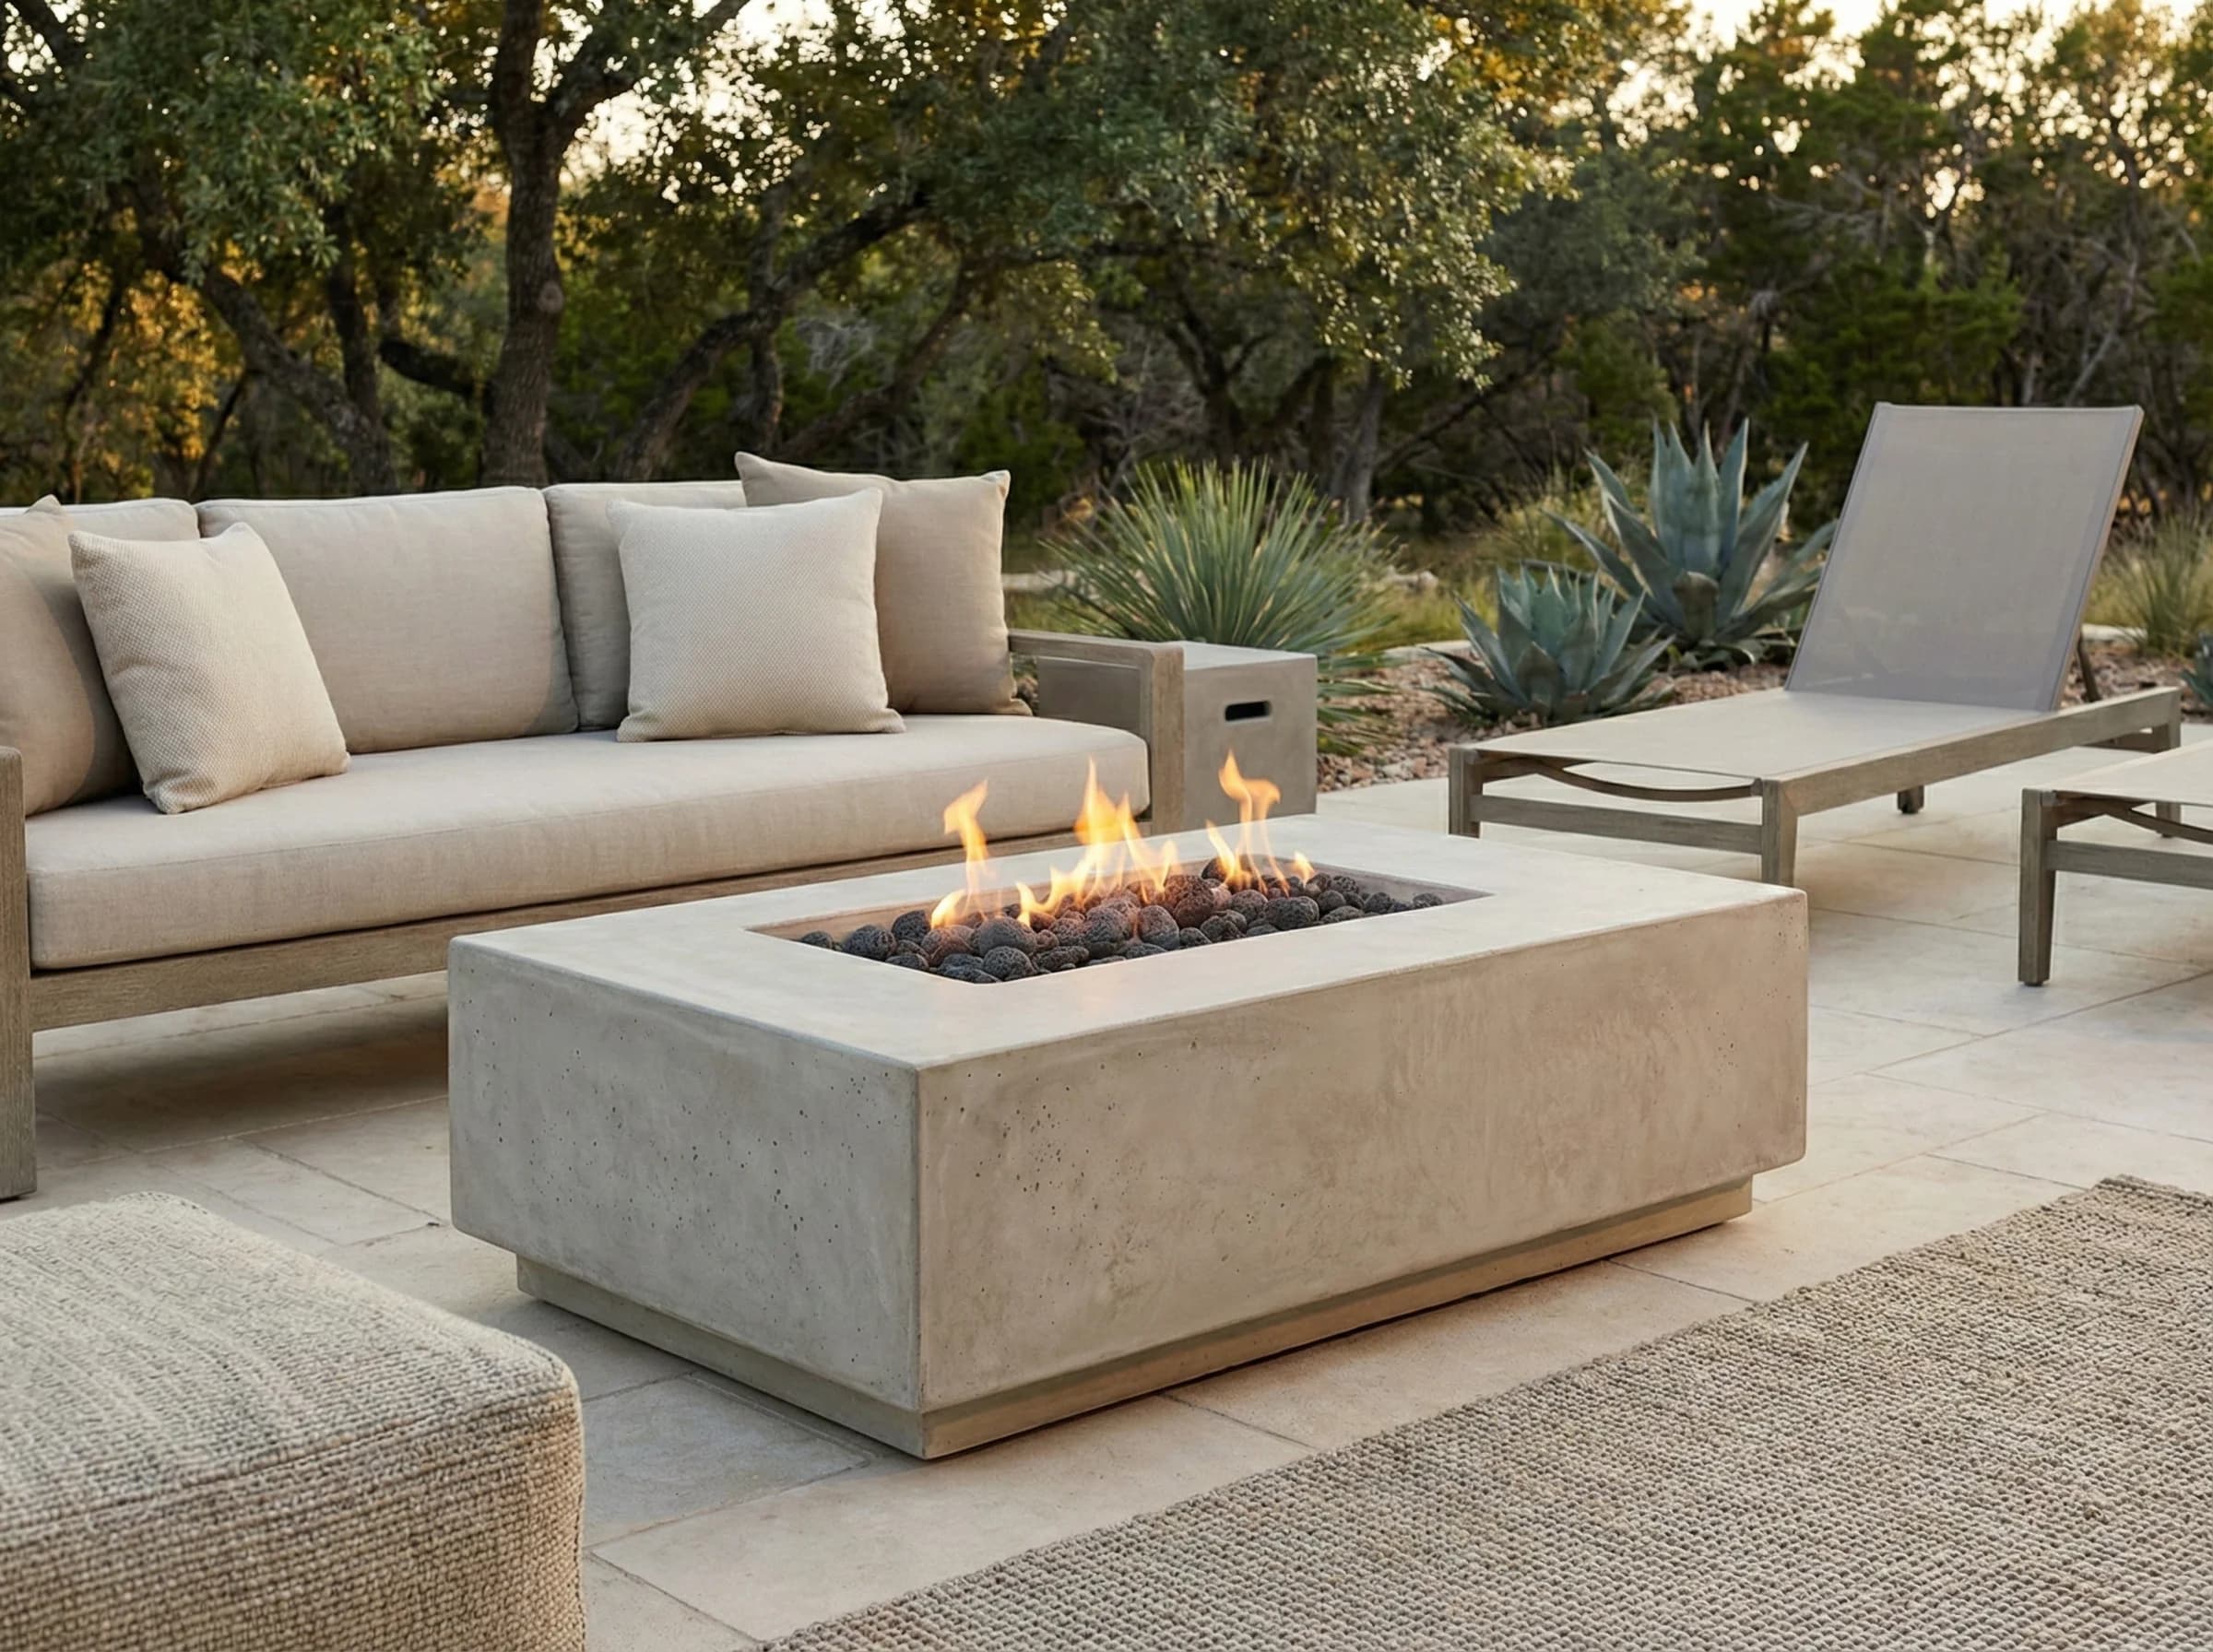
How to Install a Gas Fire Pit: Step-by-Step for Natural Gas and Propane
By Ash · Published October 2026
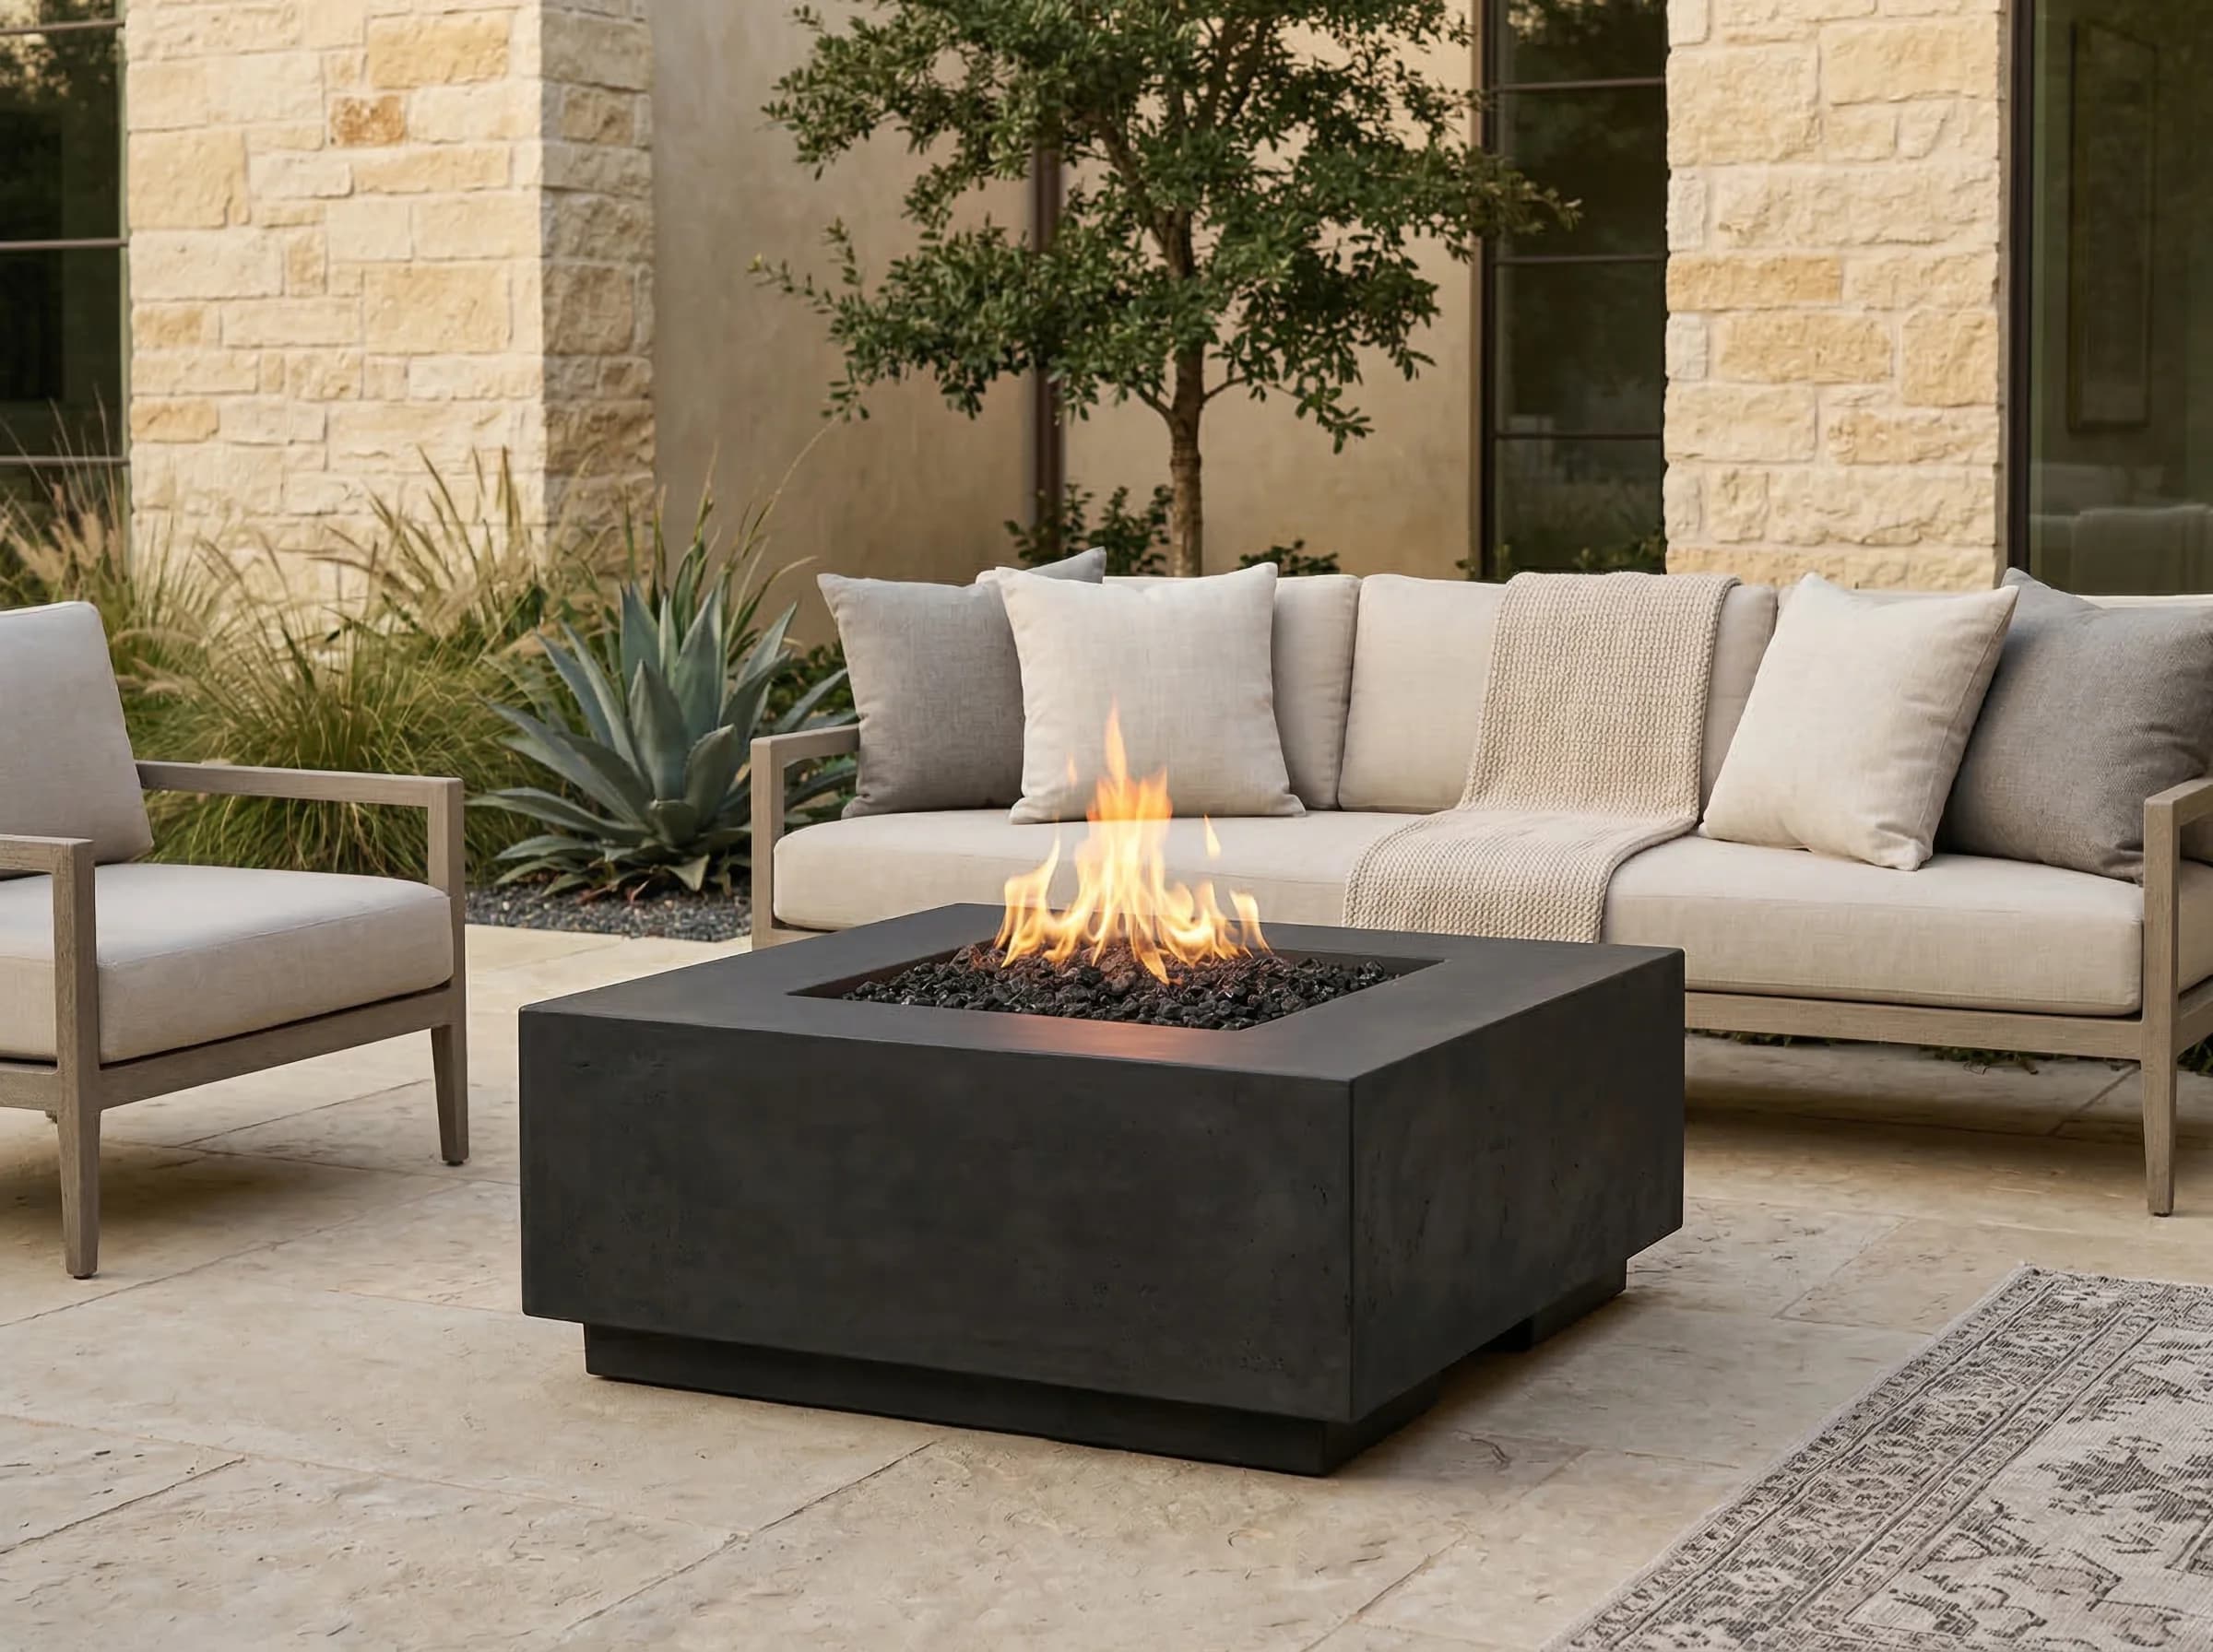
Updated October 2026. A gas fire pit install breaks into seven honest steps: confirm code and clearances, set the pit on a level non-combustible base, run (or verify) sized gas line, mount the burner pan, connect the flex whip and shutoff, pressure-test and soap-check every joint, then light and tune. Natural gas and propane each add their own quirks — this walks both.
Most gas fire pit failures I get called about trace back to the install, not the hardware. A pit sized for 65,000 BTU/hr running off a 1/2-inch line that was already feeding a tankless water heater. A flex whip pulled tight across a sharp paver edge. A drip leg nobody added, so the first spring the pit tries to burn condensate instead of gas and locks out. None of those are the manufacturer's fault — they are the install.
Done right, a gas fire pit install is a weekend job for a handy homeowner, with one hard caveat: new gas-line work almost always belongs to a licensed gas fitter. The rest — setting the pit, mounting the burner, connecting a flex whip to an existing stubbed- out valve, pressure-testing, lighting — you can do yourself with the right tools and a careful hand.
Below is the full step-by-step we walk our installer customers through. It covers both natural gas and propane, calls out IFGC code pointers you need to know, and includes a decision table at the end so you know when to stop and call a pro. If you want to compare pits before you buy, start with the fire pit sizing guide and the fire pit BTU guide.
Step 1: Check Code, Permits, and Clearances First
Before any digging, any ordering, any shopping — call your city or county building department. Ask three questions: do I need a mechanical/gas permit for a new fire pit installation, what are the current clearance setbacks from combustible structures, and does my jurisdiction follow the IFGC (International Fuel Gas Code) outright or with amendments. Ninety percent of US municipalities adopt the IFGC with local tweaks. The remaining ten percent have their own rules and you need to know which bucket you are in.
Clearance rules you will almost always hit: 10 feet minimum from a combustible structure like siding, a deck post, or a wood pergola upright. 15 feet overhead clearance to the lowest overhang. 25 feet from any propane tank larger than 125 gallons. If a pit lives on a wood deck, the deck needs a non-combustible pad under and around the pit — concrete pavers at minimum, better is a stone surround.
For a propane install, your tank placement is its own code question. Tanks under 125 gallons can usually sit within 10 feet of a building; over that, the setback grows. Many homeowners never see a 125-gallon tank because a built-in LP pit runs off a 20-pound exchange cylinder hidden in the pit's base cabinet. A table like the Outdoor Plus Cabo 66 is designed exactly for that — the tank nests inside, no visible plumbing, no yard tank.
Step 2: Prepare the Base and Set the Pit
A gas fire pit sits on a level, dry, non-combustible base. For a freestanding GFRC concrete bowl like the Prism Cilindro 36 or a square pit like the Prism Tavola 2, that means a flat paver patio, a poured concrete slab, or well-compacted decomposed granite with a stone cap. Grass and loose gravel are explicit no-gos per manufacturer manuals — grass burns if a hot ember escapes, loose gravel blocks the ventilation holes on the pit's underside.
Check level with a four-foot bubble level in both axes before you set anything. A pit that leans even a quarter inch over its width will pool water in the burner pan after rain and crack it the first winter. If the patio is not perfectly level — most aren't — shim under the base with ceramic tile fragments or purpose-made plastic shims rated for outdoor UV exposure. Not wood. Wood rots.
For built-in installs, the surround goes up first — stone veneer, block, brick, whatever matches the patio aesthetic. Leave an opening sized to the specific pit insert you ordered, plus a 1/4-inch expansion gap on each side. The pit's rim should sit flush with or slightly below the surround's top course, with the burner pan recessed at least 2.25 inches below the surround top per The Outdoor Plus installation specs — this keeps flame contact away from the surround material and gives the burner room to breathe.
Step 3: Run (or Verify) the Gas Line
This is the step that decides whether you're a DIY install or a hire-a-pro install. If a gas stub-out already exists at the pit location — a dedicated valve coming out of the ground, capped, installed when the patio was built or when the previous pit was put in — you're in DIY territory. Verify the line size matches your new pit's BTU load, verify the valve closes fully, and move on.
If no gas is run yet, this is where I stop you. Running new gas pipe from the meter to the pit location — sizing the branch for your pit plus every other appliance on that line, trenching below frost line, installing CSST or black iron with the right fittings, pressure testing the new line to code, pulling the permit, getting the inspector out — that's a licensed gas fitter's job in almost every US jurisdiction. Not because it's rocket science, but because the liability for a leaky joint in a buried gas line belongs to someone with insurance that covers it.
For line sizing on NG, the quick reference: a 65,000 BTU pit at 15 feet of run on 7 inches W.C. supply pressure needs 1/2-inch black iron at absolute minimum per IFGC Table 402.4(2), and most installers upsize to 3/4-inch for margin. Add every other appliance on the same branch to the calculation. A pit sharing a branch with a tankless water heater needs a bigger line than a pit on its own branch. On LP at 11 inches W.C. the pipe can be smaller for the same BTU load because propane carries roughly 2.5x the BTU per cubic foot of natural gas — a benefit most people don't realize.
Step 4: Mount the Burner Pan and Media
For a freestanding factory-built pit, the burner pan is already installed from the manufacturer and your job is just confirming it seated correctly during shipping. Open the service door, check that the pan is flat, check that the ignition module (if electronic) is dry and connected, confirm the gas inlet points toward where your line will come in.
For a drop-in install where you're converting a steel bowl (like the Ohio Flame Fire Chalice, which Ohio Flame designs for wood but accepts a drop-in gas conversion) or building into a custom surround, the burner pan drops into the opening and gets leveled, then the burner tubing (an H-pattern, a bullet pattern, or a linear bar depending on pit shape) bolts to the pan. Pre-plumbed burners from The Outdoor Plus ship with the flex connector from valve to burner already assembled, which cuts the fiddliest part of the install.
Air mix matters here. The burner has an air mix fixture under the burner plate — a sleeve with holes that regulates how much combustion air mixes with the gas before ignition. On the TOP burners, rotating that sleeve to COVER the six air holes configures the pit for liquid propane; leaving them open is for natural gas. Get this backwards and the flame pattern looks wrong on day one — big yellow sooty flames on LP, weak low flames on NG. Check your pit's manual for the exact air-mix adjustment; it differs by brand.
Media goes in last. Fire glass or lava rock from 1/4 inch to 3 inches for NG; for propane, avoid any media piece smaller than 1/2 inch because small pieces block the heavier propane flow and create hot spots. Fill to the top of the burner tubing, not above it — buried burners choke. Spread evenly so there are no bare patches.
Step 5: Connect the Flex Whip and Shutoff
The final 36 inches between your gas stub-out and the burner inlet is a stainless-steel flex connector — a "whistle-free" flex hose is strongly preferred because the regular corrugated kind can harmonize under flow and howl annoyingly. Flex is only for the final connection; everywhere else is rigid pipe. IFGC 411.1 allows up to 6 feet of flex, but 3 feet is cleaner.
The connection sequence from the stub-out: shutoff valve (rated 1/4-turn ball valve, outside the pit enclosure per TOP install specs for emergency access), union, drip leg (if not already installed upstream), flex connector, pit's gas inlet. Use yellow Teflon tape rated for gas (not the white plumbing kind) on all threaded joints, three wraps clockwise. Hand-tighten the QCC-1 propane connector on LP installs — the manual explicitly says do not wrench that fitting; the brass is soft and wrenching distorts the seal.
If your pit has electronic ignition on 110V, this is also when the GFCI outlet gets wired in — preferably by an electrician if you don't have one near the pit already. Battery-powered electronic ignition skips that step. Match-lit skips both.
Step 6: Pressure Test and Soap-Check Every Joint
Nobody skips this step. Not once, not for a quick weekend install, not because the fittings looked tight. A gas leak at a fire pit is a fireball waiting for an ignition source — and the pit's own igniter counts.
The code-required pressure test (IFGC 406): with the shutoff valve at the pit closed and the burner isolated, pressurize the line upstream to 1.5x the normal working pressure (so about 10-11 inches W.C. for NG, 15-17 inches W.C. for LP) using a manometer or test gauge rig. Hold for 15 minutes minimum. A pressure drop means a leak somewhere; a stable reading means the line is tight. On a new gas line, the inspector witnesses this test before approving the permit — one of the real reasons to pull the permit.
After the pressure test passes, open the pit's shutoff and run the soap test on every joint from the stub-out to the burner. Mix 1 teaspoon dish soap in a cup of warm water. Brush generously onto every threaded joint, every union, both ends of the flex connector, the control valve body. Watch for bubbles. Growing bubbles = leak. No bubbles for 60 seconds = joint is tight. If a joint bubbles, shut off the gas, break the joint, redo the tape, re-tighten, re-test. Do not light a pit with an unresolved soap-test failure.
Step 7: First Light, Tune, and Verify
With soap-test clean, you're ready to light. Open the stub-out shutoff. Open the pit's control valve to its lowest setting (not full open — a full-open first light with cold gas in the line creates a startle flame you don't need). Light per the pit's instructions: match-lit means a long lighter at the burner edge; electronic ignition means press and hold the button through the spark cycle, usually 5-10 seconds.
First-light flame should be even across the full burner, blue at the base with yellow tips, no dead spots, no roaring. A dead spot means a clogged orifice — shut off, let cool, check the orifice, try again. Big orange sooty flames mean the air mix is too rich (not enough combustion air) — check the air-mix fixture under the burner is set to the correct fuel. Weak blue flames with no yellow tips mean the air mix is too lean, or the gas supply pressure is low — check with a manometer at the burner inlet.
Spec sheet pressures to verify against: natural gas should read 6.0 to 7.0 inches W.C. at the burner inlet, LP should read 8.0 to 11.0 inches W.C., both measured while the burner is running at full open. These are the specs from the TOP and Prism manuals and they're the industry standard. If pressure reads outside those bands, you have an upstream problem — line too small, regulator failing, meter undersized — and you need the gas fitter back.
Let the pit run at full output for 15 minutes to burn off any residual oil from manufacturing, dust from shipping, or spider webs from storage. Flame should settle into a clean steady pattern. That's install done.
NG vs LP: The Spec Differences That Matter
Natural gas and propane fire pits look identical from the outside and share most of their install procedure. These are the real spec differences that change what you buy, how you plumb, and how you tune:
Supply pressure. NG is 6-7 inches W.C., LP is 8-11 inches W.C. — meaning LP arrives at the pit under roughly 50% higher pressure. Plumbing is sized accordingly.
Energy density. Propane carries 2,516 BTU per cubic foot; natural gas carries 1,030. For the same BTU output, a propane pit flows roughly 40% less gas volume — which means smaller line sizes, smaller orifices, and faster pressure recovery.
Orifice sizing. NG orifices are physically larger to pass the greater volume. Converting a pit between fuels means swapping the orifices and re-setting the air mix — not just changing the valve. Buy the pit configured for your fuel. Field conversion kits exist but are a hassle.
Tank handling. LP adds a tank. For built-in table pits like the Cabo 66, the tank hides in the base cabinet. For bowls, the tank sits beside the pit, hidden behind landscaping or in a tank cover. For yard tanks over 125 gallons, placement is regulated separately.
Winter.LP tanks lose pressure in cold weather because the liquid propane boils off slower at low temps. On a 20°F night a half-full tank may struggle to feed a 65,000 BTU pit at full output. NG is piped from a utility line that doesn't care. If you live somewhere cold and plan to use the pit through winter, NG is the better install. If NG isn't available at your property, a larger LP tank (100-gallon vs 20-pound exchange) solves the pressure-drop problem.
When to Call a Licensed Gas Plumber
Not every install is a DIY install. This is the hard decision table we give customers before they order:
Call a pro when:you're running any new gas pipe from the meter or tank. You're tapping an existing branch that doesn't have spare BTU capacity. You're tying into a line that feeds a furnace, water heater, or range (any pressure drop on that line affects life-safety appliances). Your jurisdiction requires a licensed installer by permit — several states and most municipalities do. The line passes through a wall, foundation, or structural member. You smell gas during any part of the install.
DIY-safe when:a gas stub-out already exists at the pit location, sized for your pit's BTU, with a working shutoff valve. The connection is the final 36 inches of flex to the burner. You have the tools (manometer, pipe wrenches, soap bottle). You'll pull the permit even for stub-out swaps if your city requires one. You're comfortable pressure-testing and reading the result.
Gray area, lean toward pro:any install where you're converting from one fuel to another, any install on a wood deck where fire-rated barrier questions come up, any install for a rental property or short-term rental (liability shifts differently than for owner-occupied).
If you're a licensed contractor reading this because a client asked you to install a gas fire pit — we work with pros like you all the time. Our pro program offers contractor pricing, dedicated spec sheets, PDF install manuals downloadable before quote, and priority support when a client's install hits a snag. Sign up once, buy as needed.
Common Install Mistakes We See in Service Calls
Four install errors account for maybe 70% of the service calls that come back to us in the first year. If you're doing the install yourself, these are the gotchas to design against.
Undersized line. Someone added the pit to an existing branch that was already at capacity. Symptoms: weak flame, pit shutting off when another appliance kicks on, yellow tips when there should be blue. Fix: upsize the branch, or move the pit to a dedicated run.
Missing drip leg. First season, pipe scale works loose, lodges in an orifice, flame pattern dies in that spot. Fix: add the drip leg per IFGC 408.4; it should have been there at install.
Flex whip under tension. The flex connector was pulled tight across a sharp edge during the final set, slowly work-hardens, cracks in year two. Fix: a flex connector should hang in a gentle loop, never pulled tight, never kinked, never routed across a paver edge.
No manometer check at commissioning. Everyone soap-tests. Fewer verify actual working pressure at the burner inlet with a manometer. Low working pressure that passed the leak test still produces a bad flame; measuring it at install catches the problem before you call us from your patio in frustration.
What to Shop For If You Haven't Bought Yet
If you're reading this before ordering a pit, a few shortcuts for picking something that installs cleanly. Pre-plumbed factory units — like most Prism Hardscapes pits and the Outdoor Plus bowls and tables — ship with the burner, valve, flex, and ignition already connected inside the pit. Your install is just placement plus the final gas connection. GFRC concrete bowls like the Cilindro 36 are the easiest finished installs because there's zero masonry work.
Drop-in burner kits give you more design flexibility but add install complexity. Converting an Ohio Flame steel bowl to gas, or building a fully custom surround around a bare TOP burner pan — those are beautiful installs but you're essentially designing the fire feature yourself, with all the plumbing, air-mix tuning, and media selection on you. Great for pros. Harder for first-time DIY.
For sizing by patio and group, start with the fire pit sizing guide. For heat output, the BTU guide walks the math of matching output to space and climate. For picking between fuels, the NG vs LP breakdown covers total cost of ownership. And once the pit is installed, bookmark the winterizing walkthrough for fall.
Pro Program for Contractors
If you install gas fire pits for clients and want to buy from us at contractor pricing — we built the pro program for exactly that. Approved contractors get verified-trade pricing across every brand we carry (Prism Hardscapes, The Outdoor Plus, Ohio Flame, plus the rest of the catalog), PDF spec sheets and install manuals downloadable from the product page before you quote, direct line to a human for pre-install questions, and priority handling if a part ships damaged or an install stumps the crew. Signup is a short verification form. No annual fee, no minimum order, no catch.
Frequently Asked Questions
How do you install a gas fire pit yourself?+
What size gas line do I need for a gas fire pit?+
Does a gas fire pit need a permit?+
How far does a gas fire pit need to be from the house?+
Can I connect a gas fire pit directly to my house line?+
What is the required gas pressure for a fire pit burner?+
Products & brands in this guide
Related reading
Ash — Ash writes the buying guides at FirePits.com — years of specifying fire features on residential installs, from urban patios to mountain properties.